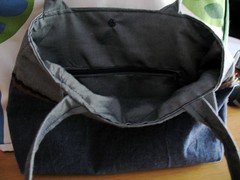
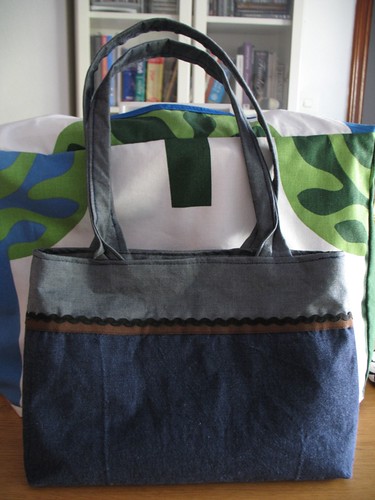
She tried a big bag, but it was too big, she tried a little bag, and it was too small, but she tried a medium-sized bag and it was just right! Well, ok, that's not how the story goes and I'm not Goldilocks.
I wanted a bag that was big enough that I didn't need to transfer my money into a smaller purse, but still small enough that it didn't look like I was going to work or away for a weekend!
It's based on a free downloadable pattern from Ottobre (http://www.ottobredesign.com/fi/kaavat/pdf/purse_EN_5-07.pdf).
I made a few changes - obviously the fabric. The blue bottom fabric is a thickish cotton from Ikea and the top fabric (also used as the lining fabric) is something I picked up from the market. It looks sort of like blue denim on one side and silky grey on the side I chose as the right-side. I used heavy interfacing, but I'm still not completely happy with this, will definitely try fleece or something next time.
I changed the straps, I made them longer than the pattern so that I could wear them over my shoulder. I also changed the construction. Ottobre tell you to interface them, stitch them right-sides together and then turn right-side out. This sounded like it would be a near impossible task, especially as I had lengthened them. So I folded the seam allowances under and stitched on the right-side, then folded again and stitched again. Not such a smart finish, but I think it looks ok.
I also added an internal zippered pocket, like for Allison's bag (using this tutorial: sewmamasew.com/blog2/?p=150). This went slightly better this time, I understood what I was supposed to be doing and the finished result is a little neater. Anyway, this is no reflection on the excellent tutorial - the wonkiness is all my own work. Practise, practise....or pockets without zips..

Instead of velvet ribbon I used some brown hem tape and black ric-rac, this way all the colours I wear are more or less represented on the bag so it should go with everything....

Comments